Laddice Training #1: Document Tutorials
 tstay2552
Laddice Training #0:...Laddice Training #0: Tutorials Database
Laddice Training #0: Tutorials Database
tstay2552
Laddice Training #0:...Laddice Training #0: Tutorials Database
Laddice Training #0: Tutorials DatabaseUsing the Text Panel
Adding Headings
There are 4 headings you can use to breakup your document. Once you create your heading, a clickable Outline will be created automatically at the top of your document. Clicking on headings navigates you to that section of the document.
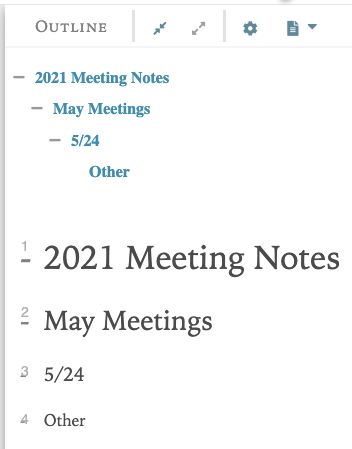
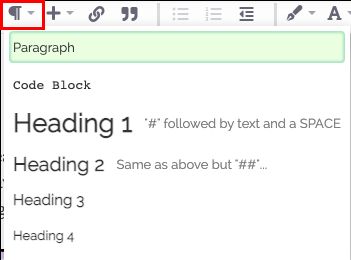
To create a heading, place your cursor on the line of text and navigate to the Paragraph icon to select heading.
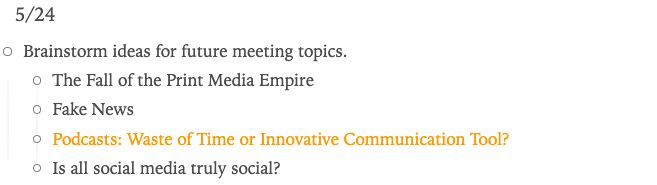
Highlighting Text
Select the text you want to highlight and navigate to the Highlight drop down in the text panel to select your highlight color.
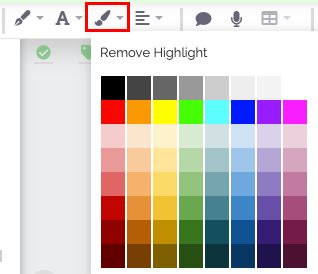
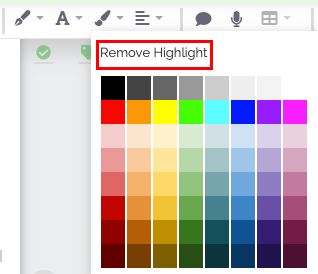
You can also use this drop down to remove highlight from text.
Creating a List
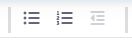
You can have a bulleted or numbered list by placing your cursor on the block of text and selecting either Wrap in bulleted text or Wrap in ordered list from the text panel.
Creating External Links
Copy the URL link from your source outside of Laddice.
Select the section of text within your document you’d like to link to.
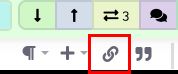
Select the link button in the top text panel. (Or press Control+K on your keyboard)
Copy the external URL link into the Link section and hit confirm.

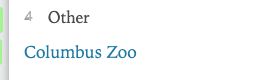
The text should now be blue to indicate a link.
Note: Some external links will also be noted with an icon. Ex. Google Sheets and Youtube
Creating Internal Links for a Block of Text
Right click the block of text you’re linking to and select Rich Text Editor Link to Block.
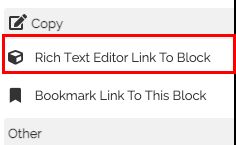
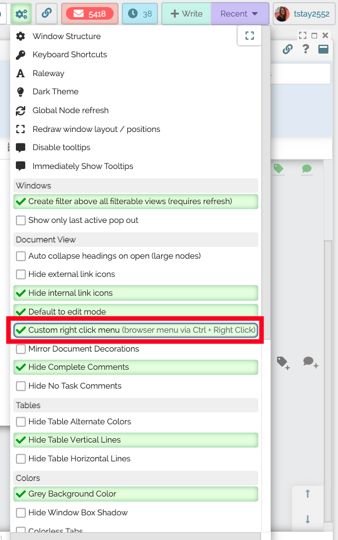
Note: If you’re having trouble accessing the menu, ensure you’ve enabled the Custom Right Click Menu under Settings.
Select the section of text within your document you’d like to copy the link to.
Select the link button in the top text panel. (Or press Control+K on your keyboard)
You can also connect to an entire document by just searching and selecting it from the Filter view that pops up in the Link menu.
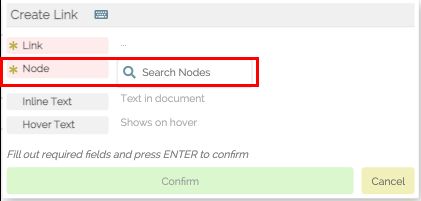
Paste the link into the Link section and hit confirm.
The text should now be blue with a purple underline to indicate an internal link.
Using the Right Gutter Panel
Changing a Task Status
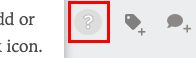
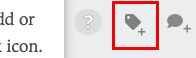
Navigate to the block of text you’d like to add or change the task status for and click the Task icon.
Update to the correct task status. For example change an Open task to Complete.
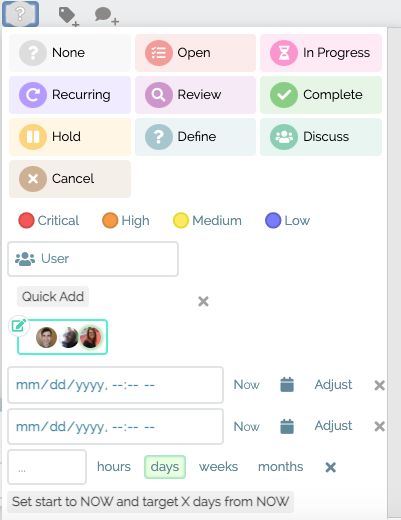
Creating Inline Tags
Navigate to the block of text you’d like to add a tag to and select the tag.
Search for the tag(s) you’d like to add and select.
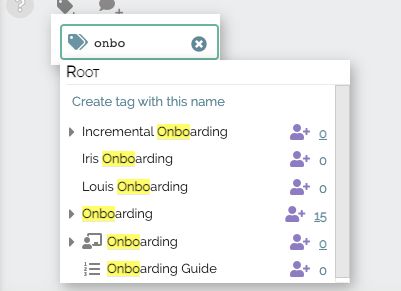
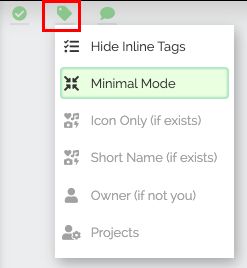
You can adjust the visibility of the tags by selecting the green tag in the right gutter panel of a document.
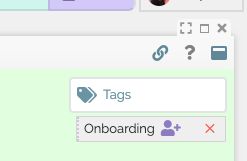
Tagging a Document
In the top right section of the document start typing in whichever tag(s) you’d like to add and select them.
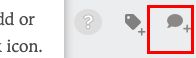
Creating Comments
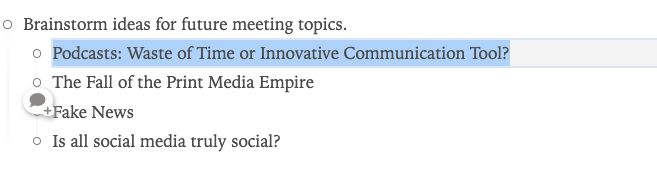
Click the speech bubble on the line of text you’d like to comment on.
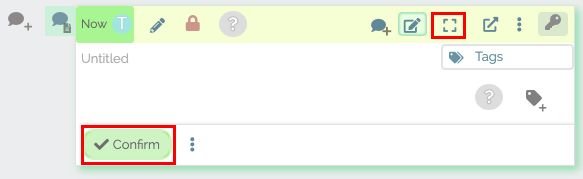
Confirm the creation of the document by selecting Confirm. Add content within or pop out by clicking the square icon and add content.
Using the Top Document Panel
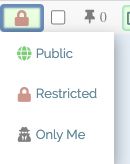
Adding Different Access Rights to Documents
Some documents are a public document that anyone with access to Laddice can view, however you can control the access rights on any document you can edit by navigating to the top document panel and selecting the Lock icon.
Sharing a Document with Other Users
Click the Share/Access Menu button.

Add projects or individual users, as well as send notifications.
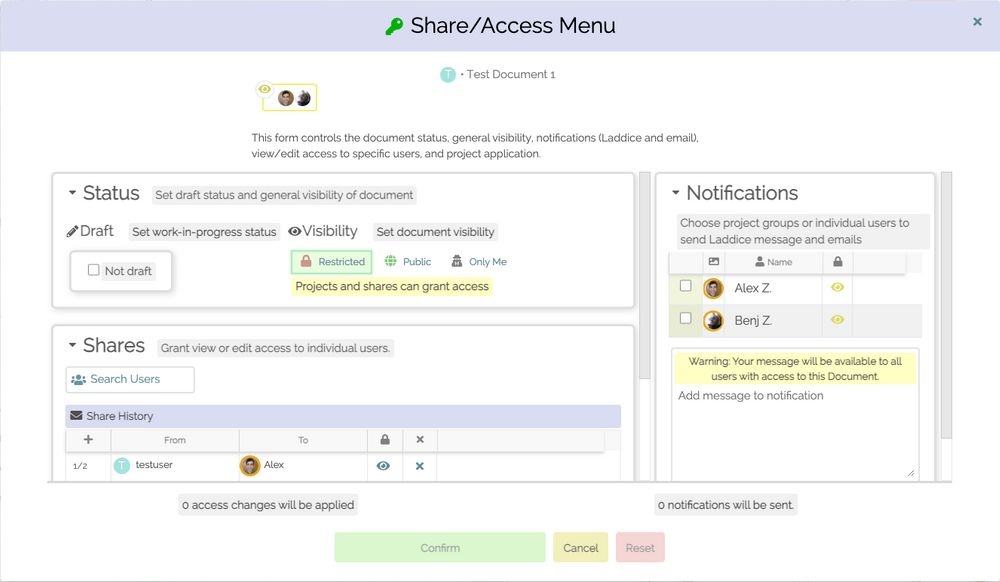
You can give users View or Edit access, by selecting the Eye in the Share with section.

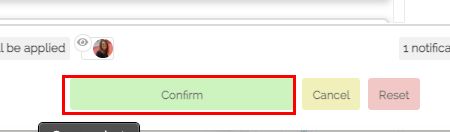
Finally, confirm any changes by clicking “Confirm change”
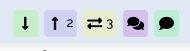
Create a Single Connection
Navigate to the Top Panel within the document and select the type of connection you’d like to make.
Search for the document you’d like to connect by key word or attribute just like in the List/Filter view.


Using the Bottom Panel
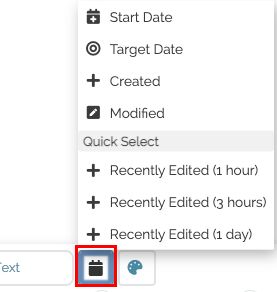
Filtering by Recently Edited in a Document
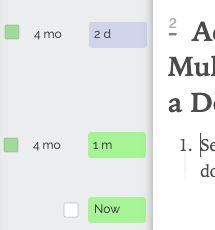
In the bottom panel of the document select the Filter by time ranges or deltas icon and select the criteria to filter by.
Adding Attributes to Multiple Blocks of Text within a Document
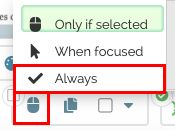
Select the mouse icon in the Bottom Panel of the document and confirm Always is selected.
Select the blocks of text to add attributes to.
Add any task attributes using the Check Mark icon.
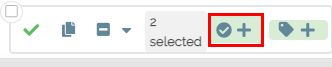
Add tags using the Tag icon.
Other
Reordering a List
At this time, the best way to reorder a list is by placing your cursor within the line of text you’d like to move and hitting Esc. This should create a grey block around that block that will preserve all of it’s attributes.
Copy the block and paste it into whichever new place you’d like it within your list. Any text, tag, or task attributes should remain.
Gemini prompt
reply
Ben is ready to push an update to production which will affect these instructions. I think you should update these and include instructions/clarifications with your next onboarding update. The update actually simplifies comments from current situation but also offers other improvements. Let’s discuss tomorrow.
reply